Installing JetPack 6 Using SDK Manager
| JetPack 6 Migration and Developer Guide |
|---|

|
| Introduction |
| Migrating From JetPack 5 to JetPack 6 |
| Installing JetPack 6 |
| JetPack 6 Key Features |
| Contact Us |
The NVIDIA SDK Manager is an essential tool for developers working with NVIDIA Jetson platforms, such as Jetson Xavier, Jetson Nano, and Jetson TX2. It provides a straightforward and user-friendly interface for downloading, installing, and managing the various software components required for developing AI, computer vision, and high-performance computing applications. The SDK Manager simplifies the setup process by offering a guided installation experience, ensuring that all necessary dependencies and libraries are correctly installed.
To install JetPack using the SDK Manager, you need a host computer with the following requirements:
- Ubuntu Desktop 20.04 or 22.04.
- Working internet connection.
- 8GB of RAM.
- At least 30GB of free disk.
Download SDK Manager
Step 1: Download
1. Use this link to download the Debian package. In order to download the package, you must be logged in with an NVIDIA developer account.
Step 2: Install
1. Install the Debian package using the following command in a terminal window, change <version> and <build> accordingly:
sudo apt install ./sdkmanager_<version>-<build>_amd64.deb
Step 3: Launch
1. In a terminal window, launch the SDK Manager using the command:
sdkmanager
2. The SDK Manager will open as Figure 1 shows. The first time the SDK Manager opens, you need to log in using an NVIDIA Developers or NVONLINE account. After this, you can check the option Stay logged in.

Flashing process
Step 1: Development Environment
1. Launch the SDK Manager using the command:
sdkmanager
and log in using a NVIDIA Developers or NVONLINE account.
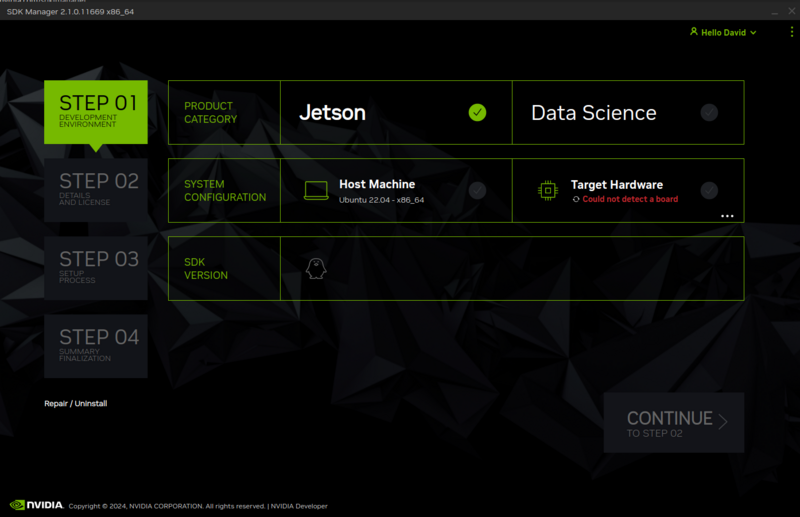
2. Check in the PRODUCT CATEGORY section the Jetson option as shown in Figure 2.

3. Check in the SYSTEM CONFIGURATION section, the Host Machine option. This will automatically find your Ubuntu version, like in Figure 3.

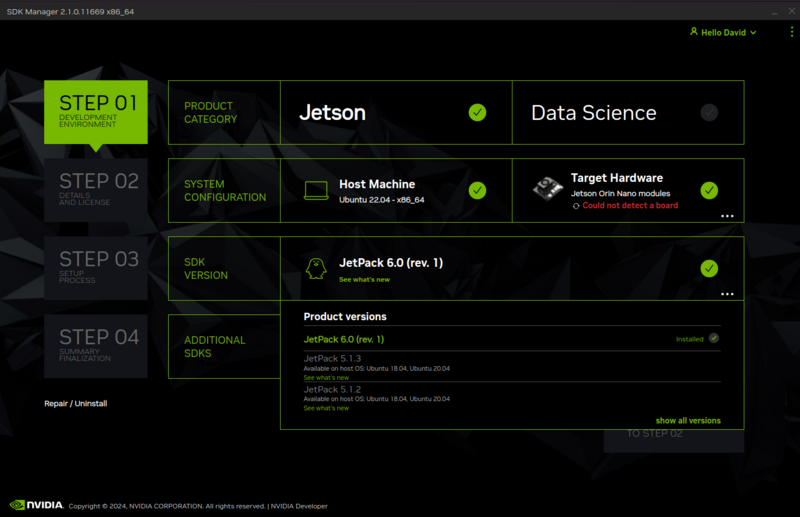
4. Select in the PRODUCT CATEGORY section, the Target Hardware to be used from the drop-down menu, as shown in Figure 4. Remember that JetPack 6 is only available for Orin modules.

If the device to be flashed is connected to the host computer and is set to recovery mode, the SDK Manager will automatically detect it. In this example it is the Jetson Orin Nano [8GB developer kit version], as Figure 5 shows.

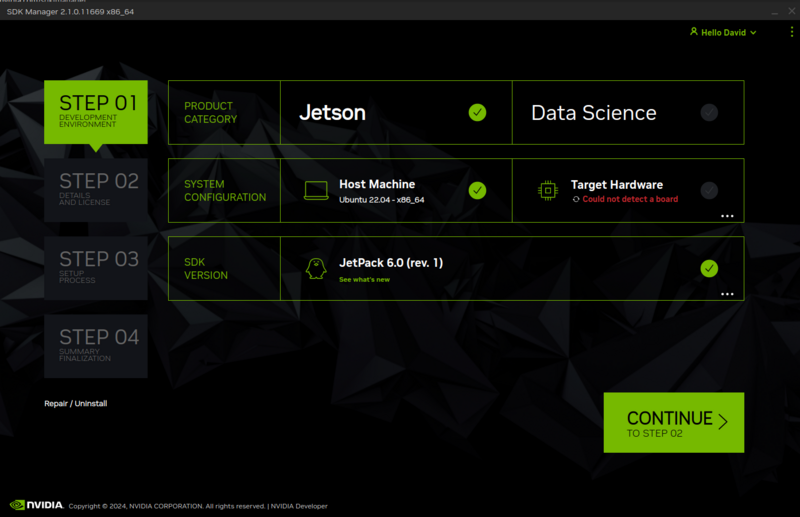
5. Select in the SDK version section the option of JetPack 6.x to be used. In this example is the JetPack 6.0 (rev. 1), as shown in Figure 6.

6. (Optional) If you want to enable the DeepStream SDK, check this option in the ADDITIONAL SDKS section, like in Figure 7.

7. Finally, press the CONTINUE button at the bottom right corner.
Step 2: Details and License
1. Now the SDK Manager displays the host and target components that it is going to download and install, as Figure 8 shows. Optionally, you can select or deselect the target components you want. However, you should keep the Jetson Linux option in which the Jetson Linux image and the flash process are included.

2. Also in this step, the SDK Manager presents the directories where the downloads and the hardware image will be. Both directories are by default: /home/$USER/Downloads/nvidia/sdkm_downloads for the download folder and /home/$USER/nvidia/nvidia_sdk for the hardware image folder. But these directories can be changed, as shown in Figure 8.
3. Check the terms and conditions box to accept them.
4. Press the CONTINUE button at the bottom right corner.
5. SDK Manager will prompt for the user's password as it requires administrator permissions, like in Figure 9. Type the password and press OK.

Step 3: Setup and process
1. At this point, the SDK Manager starts to download and install all the components; Figure 10 illustrates this state.

2. When the Jetson Linux image is ready and the flashing process is about to start, the SDK Manager will ask for the OEM Configuration and the Storage Device, as in Figure 11. If the board is not connected to the host computer, the SDK Manager will display the steps to put the device in recovery mode and ask to connect it to the host computer. After this you can either start the flashing process or skip it. If you skip the flashing process, the installation will end here.

3. After the flashing process, the SDK Manager will install the previously selected SDK components. For this, you will be prompted for some configuration parameters, as in Figure 12. The device must be connected to the host computer for this. The process can also be skipped in case you don't want to install the SDK components.

Step 4: Finalization
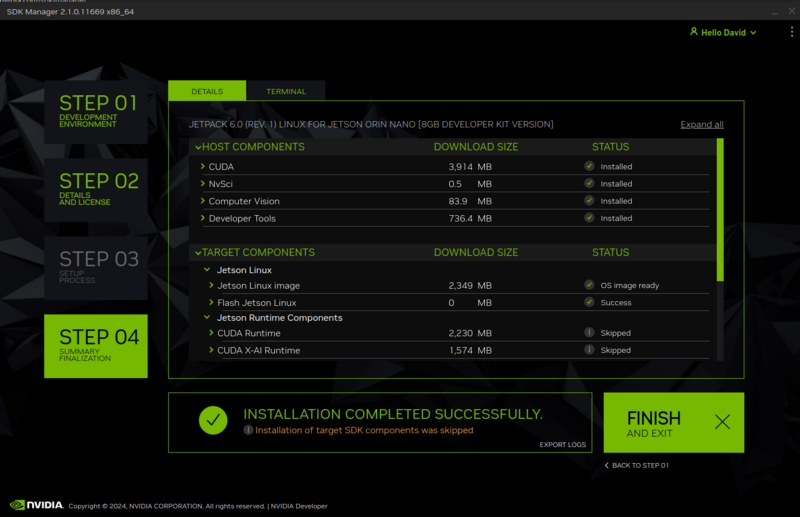
1. Whether or not the device has been flashed and the SDK components installed, the SDK Manager will display a message confirming the installation process, similar to Figure 13.


