Install Eclipse plugin
Open-source project from Ridgerun. |
| GstShark |
|---|
| Getting Started |
| Generating trace files |
| Tracer Parameters |
| Available Tracers |
| Results |
| Visualization Tools |
| Examples |
| Contact Us |
This plug-in is no longer supported and we no longer recommend using it. Instead, consider using the simple plotting scripts provided in the project.
The experimental Eclipse plug-in may be installed in two ways:
- RidgeRun's Eclipse repository: Will have the latest plug-in stable version. It may not include all the newest features but will be extensively tested.
- Local project: Maybe an experimental version, but will contain the latest features developed so far.
Details on how to use the plugin are described later on the Eclipse plugin page.
Installation from RidgeRun's Eclipse Repository
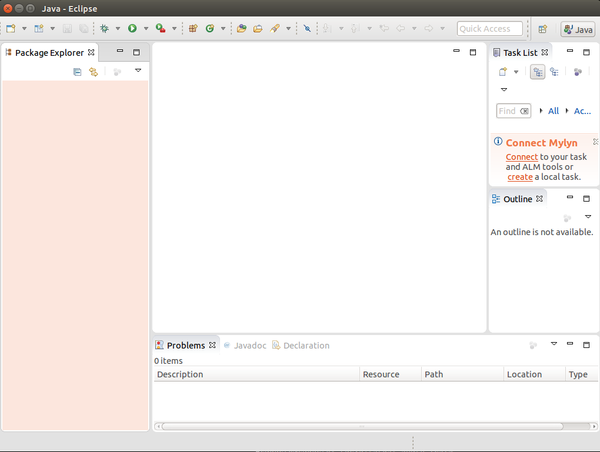
1. Open Eclipse

2. Go to: Help -> Install New Software...

3. At "Work with:" write RidgeRun Gst-Shark eclipse site: "http://downloads.ridgerun.com/packages/eclipse-plugins/gst-shark/"

4. RidgeRun Eclipse plugin should load after writing down the site, select "GstsharkFeature" and click "Next"

5. Install Details, click "Next"

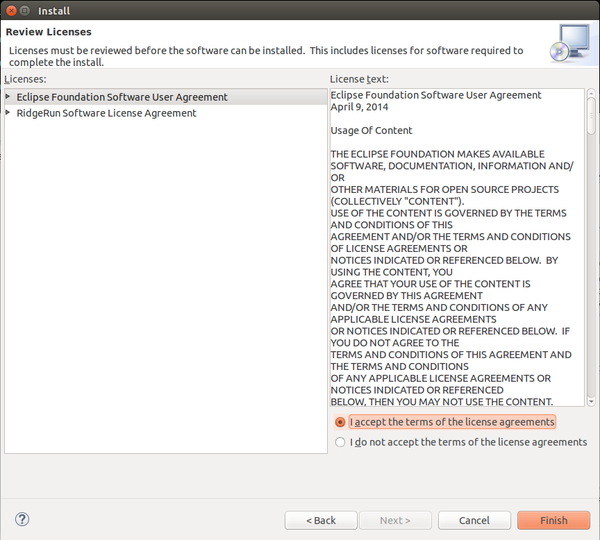
6. I you agree to Accept License Agreement and click "Finish"

7. A security warning may be indicated, Click "OK" if you want to continue with the installation.

8. Eclipse should be restart, click "yes"

9. When Eclipse restarts go to Workbench

10. "GstShark" Menu should be present now.

Installation from Local Project
1. Open Eclipse

2. Go to: Help -> Install New Software...

3. At "Work with:" write the path where you have the GstShark project, appending eclipse/GstSharkSite. I.e: "file:///home/mgruner/Release/gst-shark/eclipse/GstSharkSite/"

4. Select GstSharkFeature from the dropdown list and click next

5. Continue from step 6. in the Installation from RidgeRun's Eclipse Repository section


