Example - opencvwarp
Introduction
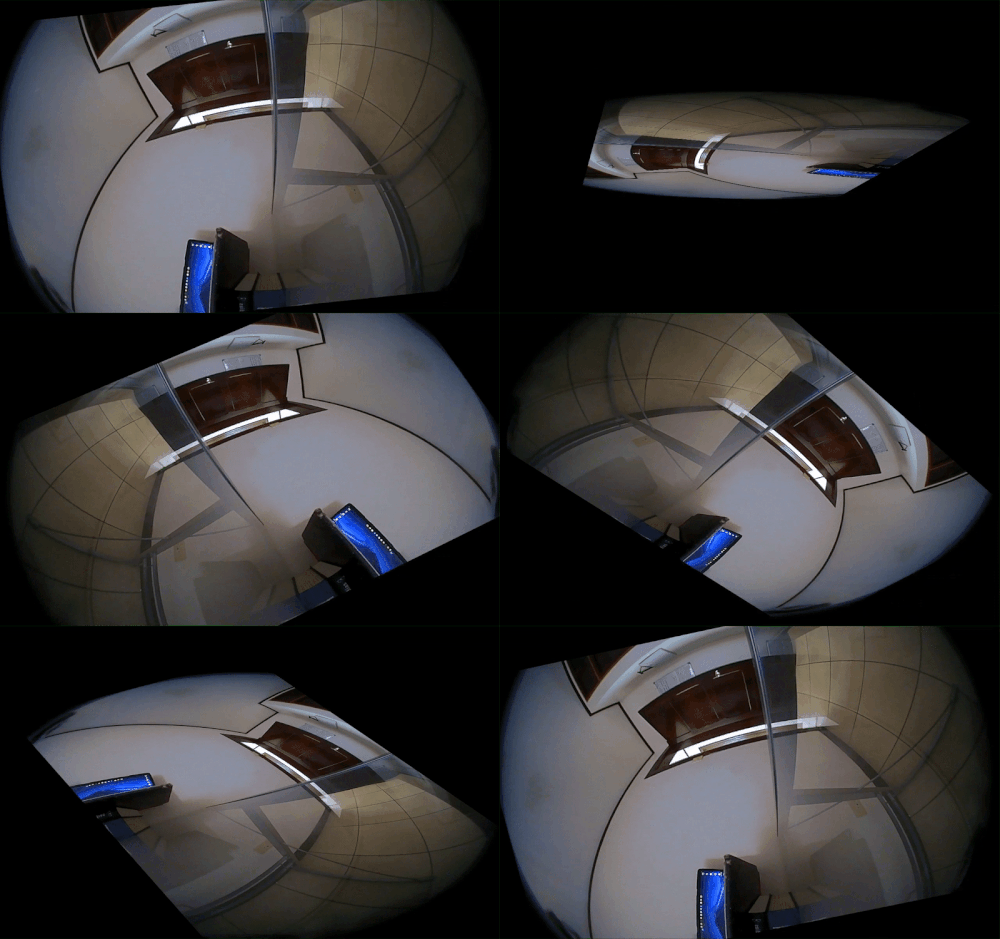
The opencvwarp element will modify an image given a 3x3 transformation matrix. If the demo property of the element is enabled, it will apply a transformation that involves a rotation of the image in a 3D space and then a projection back to the image plane like this:

Element properties
- demo
Put the element in demo mode to showcase its capabilities. In this mode, the incoming image will be rotated in the 3D space and projected back to the image plane. Will override the transformation matrix.
Type: Boolean
Flags: readable, writable
Default: false
- m00-m22
The 9 coefficients of the 3x3 perspective transformation matrix. This matrix may be changed dynamically to animate transformations.
Type: Double
Range: -1,797693e+308 - 1,797693e+308
Flags: readable, writable
Default: identity matrix
Examples
The following two examples will provide an introduction to the element and its capabilities. Both examples were tested on Nvidia Jetson TX1 and TX2 connected to a display via HDMI and using a webcam as input video source.
Demo example
This example is meant to show the element capabilities. The image will be rotated in three-dimensional space and projected back to the image plane.
By running the following pipeline:
gst-launch-1.0 v4l2src ! nvvidconv ! opencvwarp demo=true ! queue ! nvvidconv ! autovideosink
you should obtain the result shown in Figure 1.
Custom example
You can also define your own custom matrix, as shown below.
#!/bin/bash

m00=0.7071068
m01=-0.7071068
m02=0.0000000
m10=0.7071068
m11=0.7071068
m12=0.0000000
m20=0.0000000
m21=0.0000000
m22=1.0000000

gst-launch-1.0 v4l2src device=/dev/video1 ! nvvidconv \
! opencvwarp m00=$m00 m01=$m01 m02=$m02 m10=$m10 m11=$m11 m12=$m12 m20=$m20 m21=$m21 m22=$m22 \
! queue ! nvvidconv ! autovideosink


